A few months ago, I took the plunge and tried processing film for the first time. Like most photographers giving processing a shot, I started with black & white. Thanks to the folks at Cinestill Film and their Df96 Monobath, I had success straight off the mark. Despite a few missteps with rolls 3 and 4 (temperature issues caused strange grain), I was able to successfully process 10 rolls of film over the course of about seven weeks.
With that success, I decided that just maybe color could be in my future. In my old photo books (thanks John Hedgecoe, Michael Freeman and the Kodak Time-Life photo series) color processing looked somewhat more complicated and requiring temperature control that I didn’t have. But again, Cinestill had a solution (no pun intended) that encouraged me to give it a whirl.
Their product is called Cs41 – it’s a two-step process with developer and blix, that came in a powder form making it very easy to get in the mail.
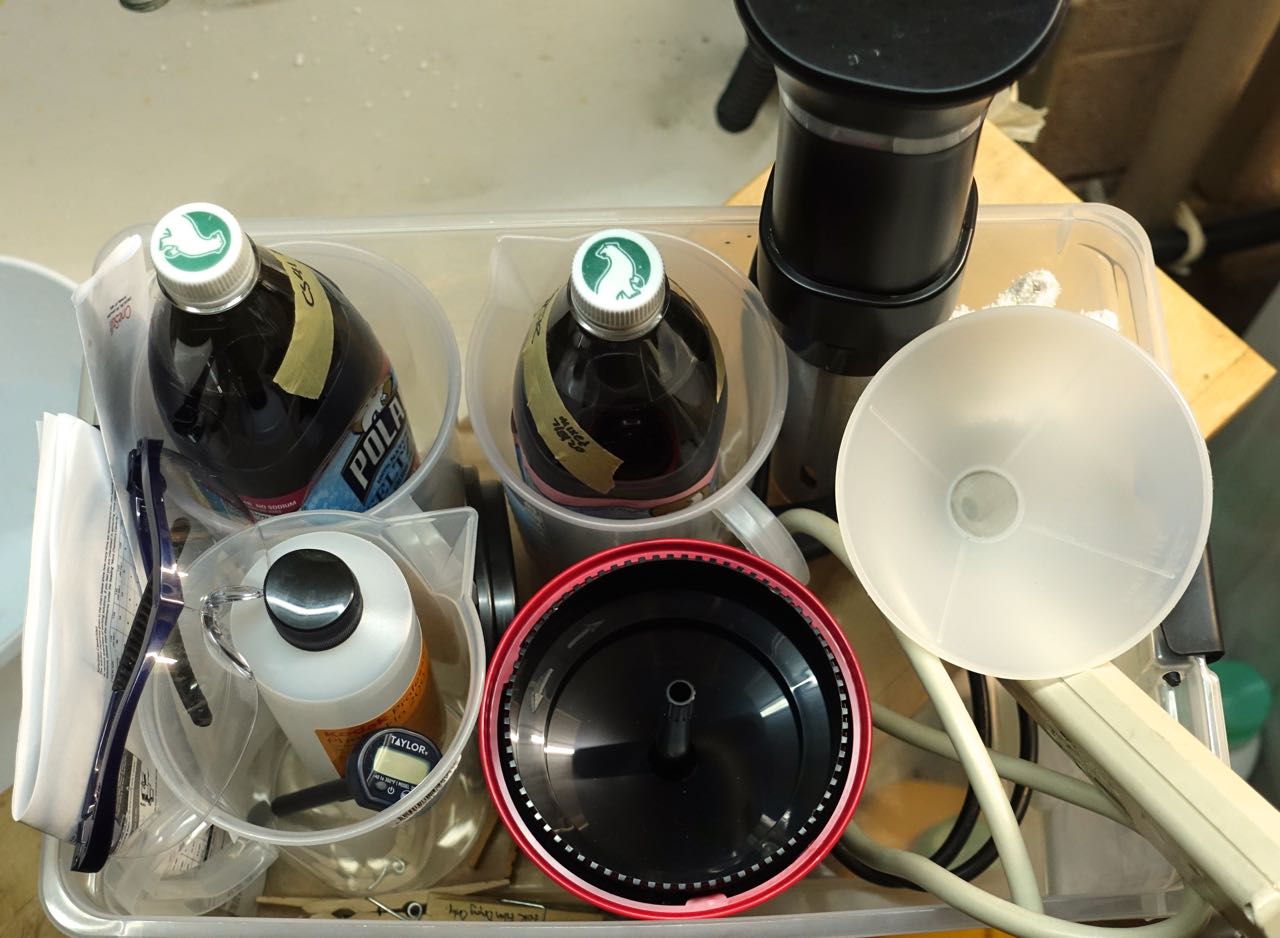
I already had the Paterson two-reel tank that I got for B&W processing, a digital kitchen thermometer, graduated pitchers for mixing chemicals and the clothespins I had dedicated to film drying.
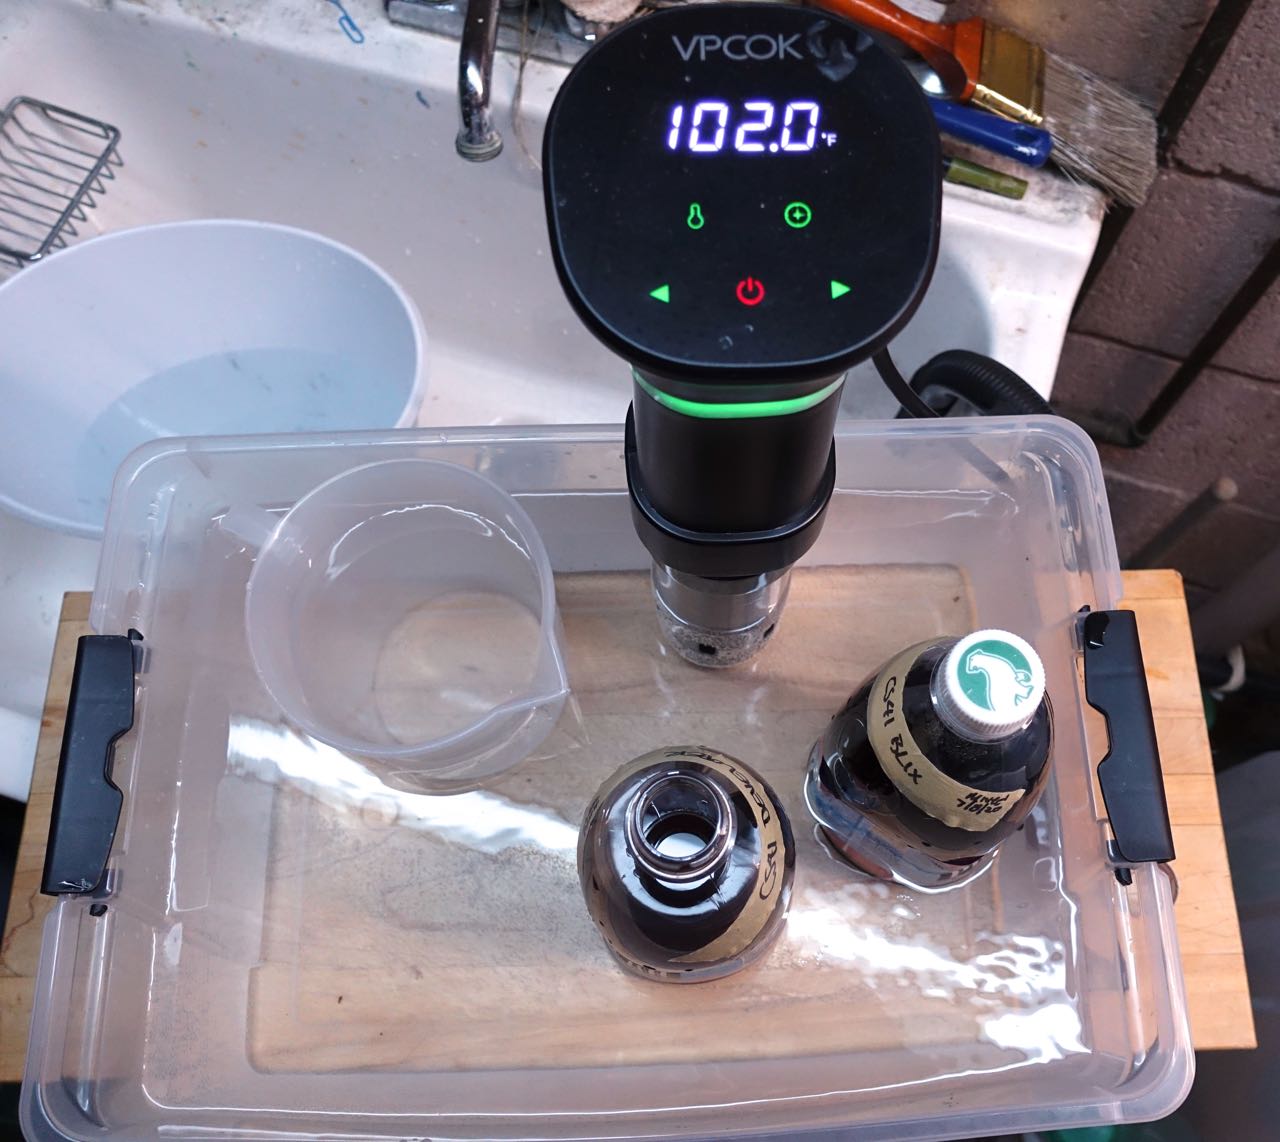
For temperature control (which is much more critical with color processing), I purchased a sous vide cooker from Amazon. This unit provides a constant temperature water bath; they’re typically used for cooking, but combined with a simple plastic tub, offered the solution to my temperature needs.
The Cs41 chemicals come in powder form, and mix easily; I used distilled water (although I have decent water at my house and could have used the tap), mixed at temperature and stored in liter seltzer bottles. These were washed thoroughly before being used for chemical storage; I find they work great because they allow you to squeeze extra air out of them, since the in-bottle air can cause the chemicals to deteriorate more quickly.
 After getting the film in the Paterson tank (getting better and better at that as I do more rolls), I heated the chemicals to 102 degrees. I needed to do a little extra heating with the developer; sitting in the heated water bath, I couldn’t get the bottled chemicals to 102 degrees, so I used hot tap water in one of my pitchers to bring it to temperature, then put it in the water bath.
I start each process with a 1 minute pre-rinse, using water at 102 degrees. It’s optional in the instructions; I notice that when I empty the pre-rinse, the water has turned a deep green for Kodak films, bright purple for Fujifilm Superia. I time using the stopwatch app on my iPhone.
 The instructions with Cs41 call for 3.5 minutes of developer time – 10 secs. Initial agitation, then four turns every 30 seconds. After each turn, the tank is returned to the water bath to keep the temperature up. When the time is up, the developer is emptied into a clean graduated pitcher and set aside.
When I start the developer, I remove the blix bottle from the water bath, as the temperature isn’t quite as crucial. Once development is done, I add the blix; 10 secs of agitation, followed by 8 minutes of time, with a four-turn agitation each 30 seconds. On my first time doing this, the lid of the tank bulged and the seal broke – I managed to get blix all over myself! I now wear an old shirt when doing the process and most importantly, a pair of safety glasses.
Once the eight minutes is up, I empty the blix into another pitcher and begin the rinse process. I usually have a third pitcher of water already to go for the first rinse, then run water for about three minutes. I’ve also tried using the water bath water for rinsing (I cool it with icecubes) to reduce my water consumption.
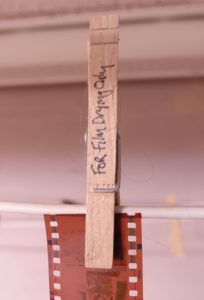 I usually do one final rinse with a drop of PhotoFlo, pull the film out of the tank and off the reels, then onto the clothesline with a clip at top and bottom. And lo and behold, successfully processed color negs that look spot on! I let the film dry for at least four hours, sometimes overnight, before scanning.
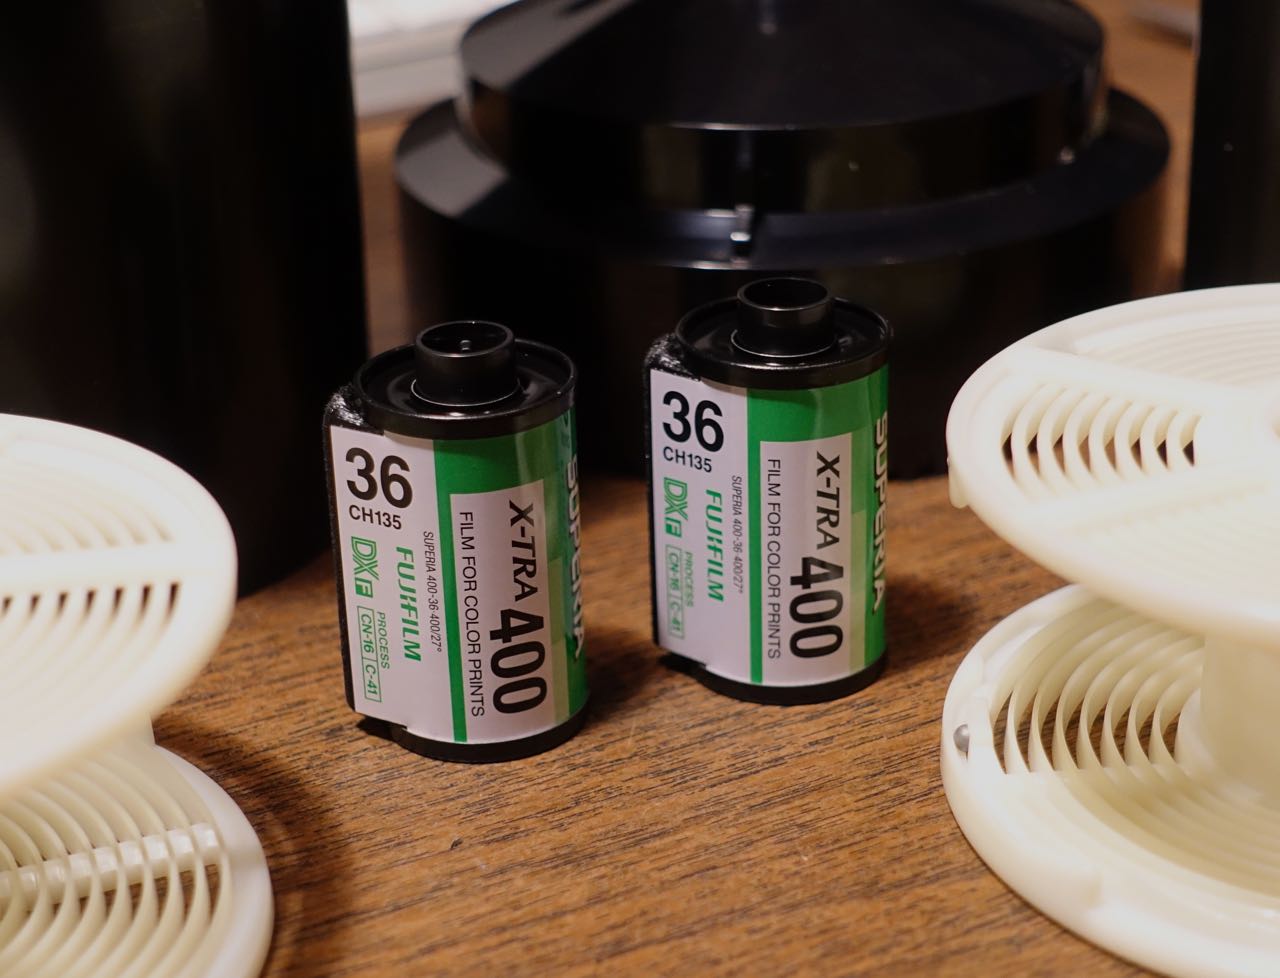
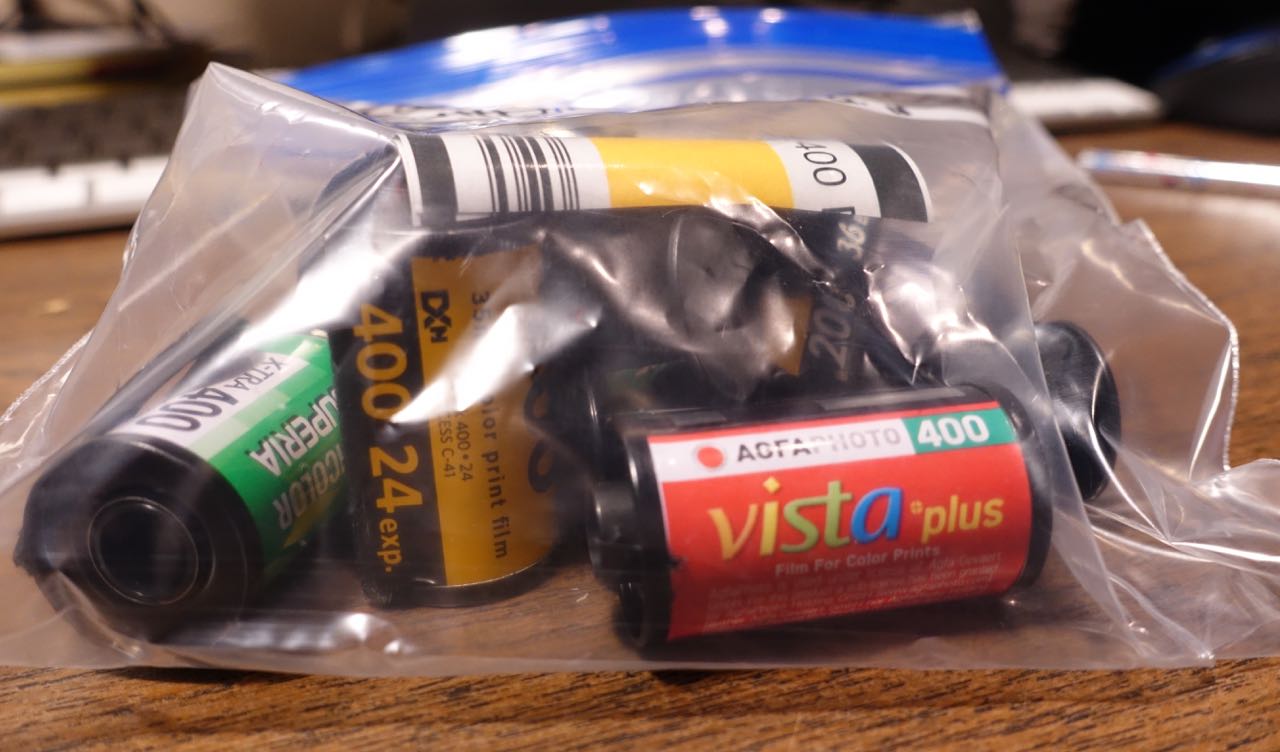
So far, I’ve done both 200 and 400 speed film, and a mix of 35mm and 120. Each turned out okay and scan just fine.
The Cs41 was about $25. The literature says it can do up to 16 rolls of film; so far, I’ve done 7 rolls of 35 and two rolls of 120. Cinestill says chemcals should stay usable for about two months; I still have several rolls in camera to do in the next few weeks.
 My only concern so far is the archival quality of these negatives. Cinestill says their process produces archival negs; time will tell.
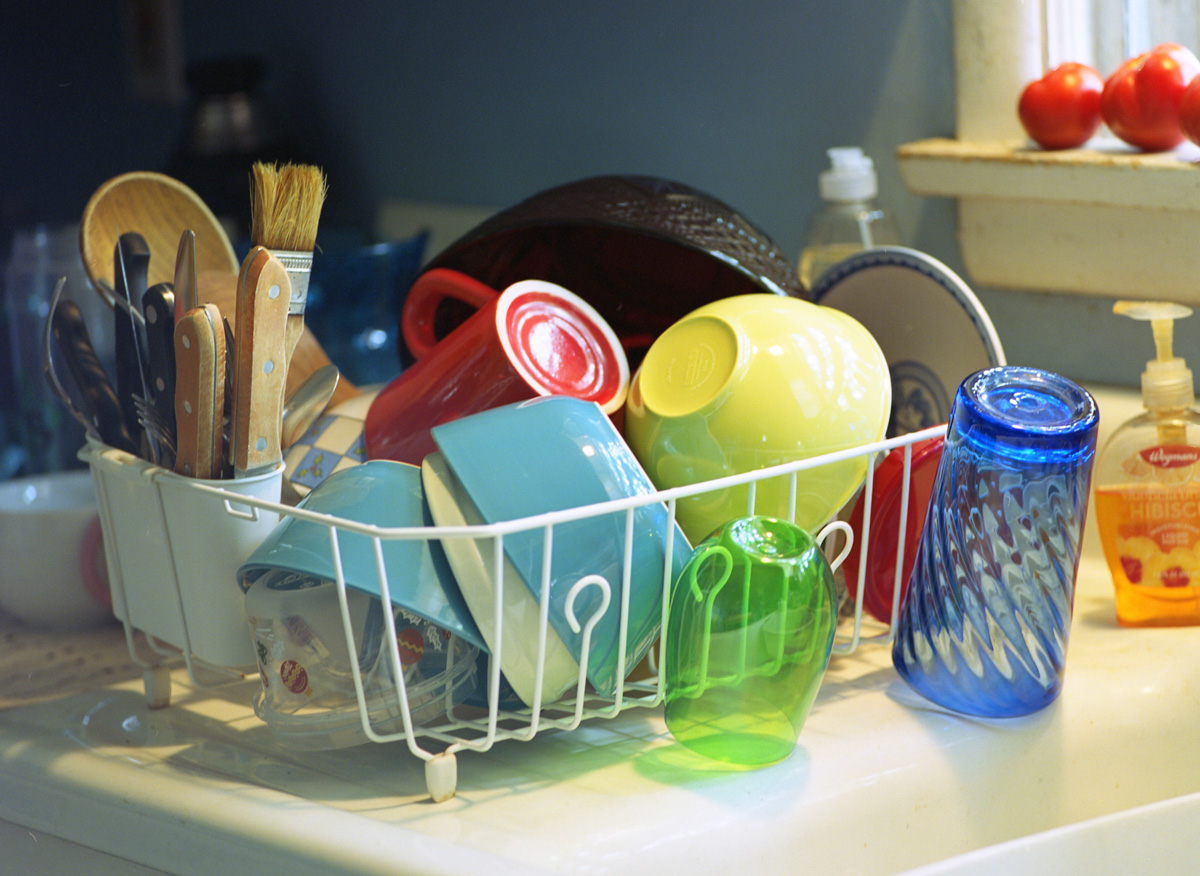
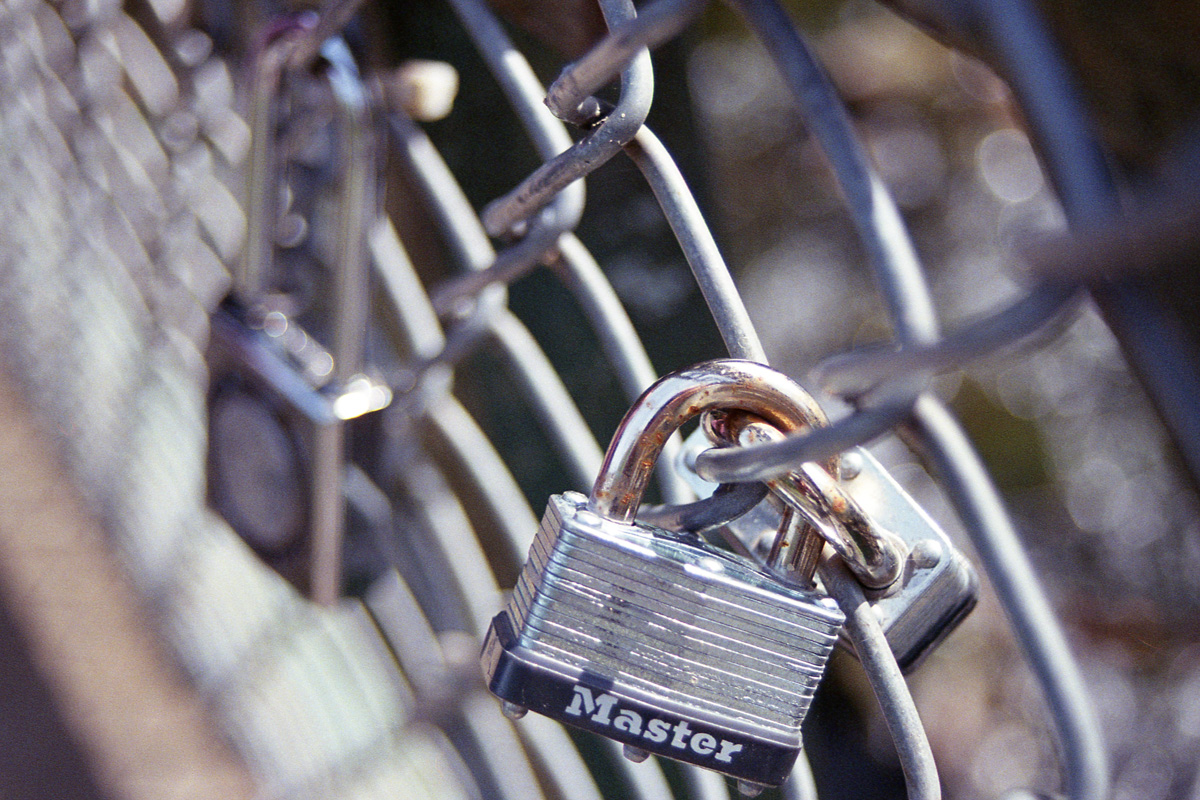
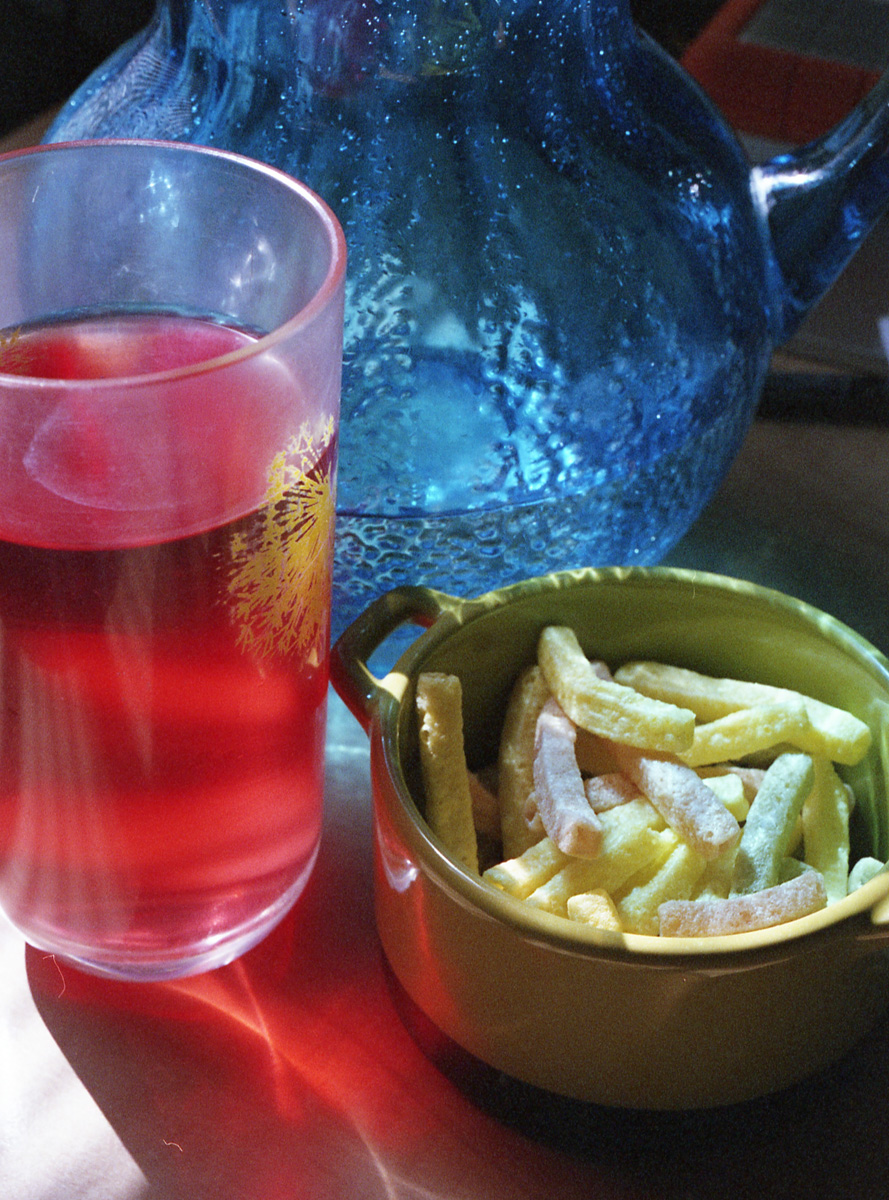
Here are some examples; I scan my film on an Epson V550. On the shots I want to keep, I print at my local Walgreen’s when they do a 10-cent print week.


So after many years of letting someone else develop my film, I can now do both color and black and white. I love the process and the ability to do it myself, on my time. I will likely still use my local lab for some work, but doing this myself is fun and much more convenient.
Thanks to the folks at Cinestill for their easy-to-use chemistry and process. My next challenge will be E-6, which, wouldn’t you know it, Cinestill has a new option for. If my experience with Df96 and Cs41 is any indication, I’ll have some good results.